I have been on my sourdough journey for about 2 years now. I am so thankful that I started out on the journey of learning sourdough. I just love it. If I’m honest, it hasn’t always looked pretty. :) And even more, it hasn’t ALWAYS tasted good. But the not as tasty ones were few and far between, so that’s good! I actually haven’t tried lots of recipes or formulas. I have listened to the wisdom of so many bakers that have gone before me which was to start with one “type” of bread, or one formula, and work with that one until you feel like you have mastered it before going on to the next.
When making sourdough, there are so many components that can affect your loaf, for the good and also the bad. Temperature in the room, temperature of the dough, temperature of the water, the acidity of the leaven, the type of flour, etc. Lots of things to consider! I really spent these first couple of years only making one type of bread, an artisan sourdough loaf. I did experiment with a few different flours, but mostly always used the same formula for flour and water.
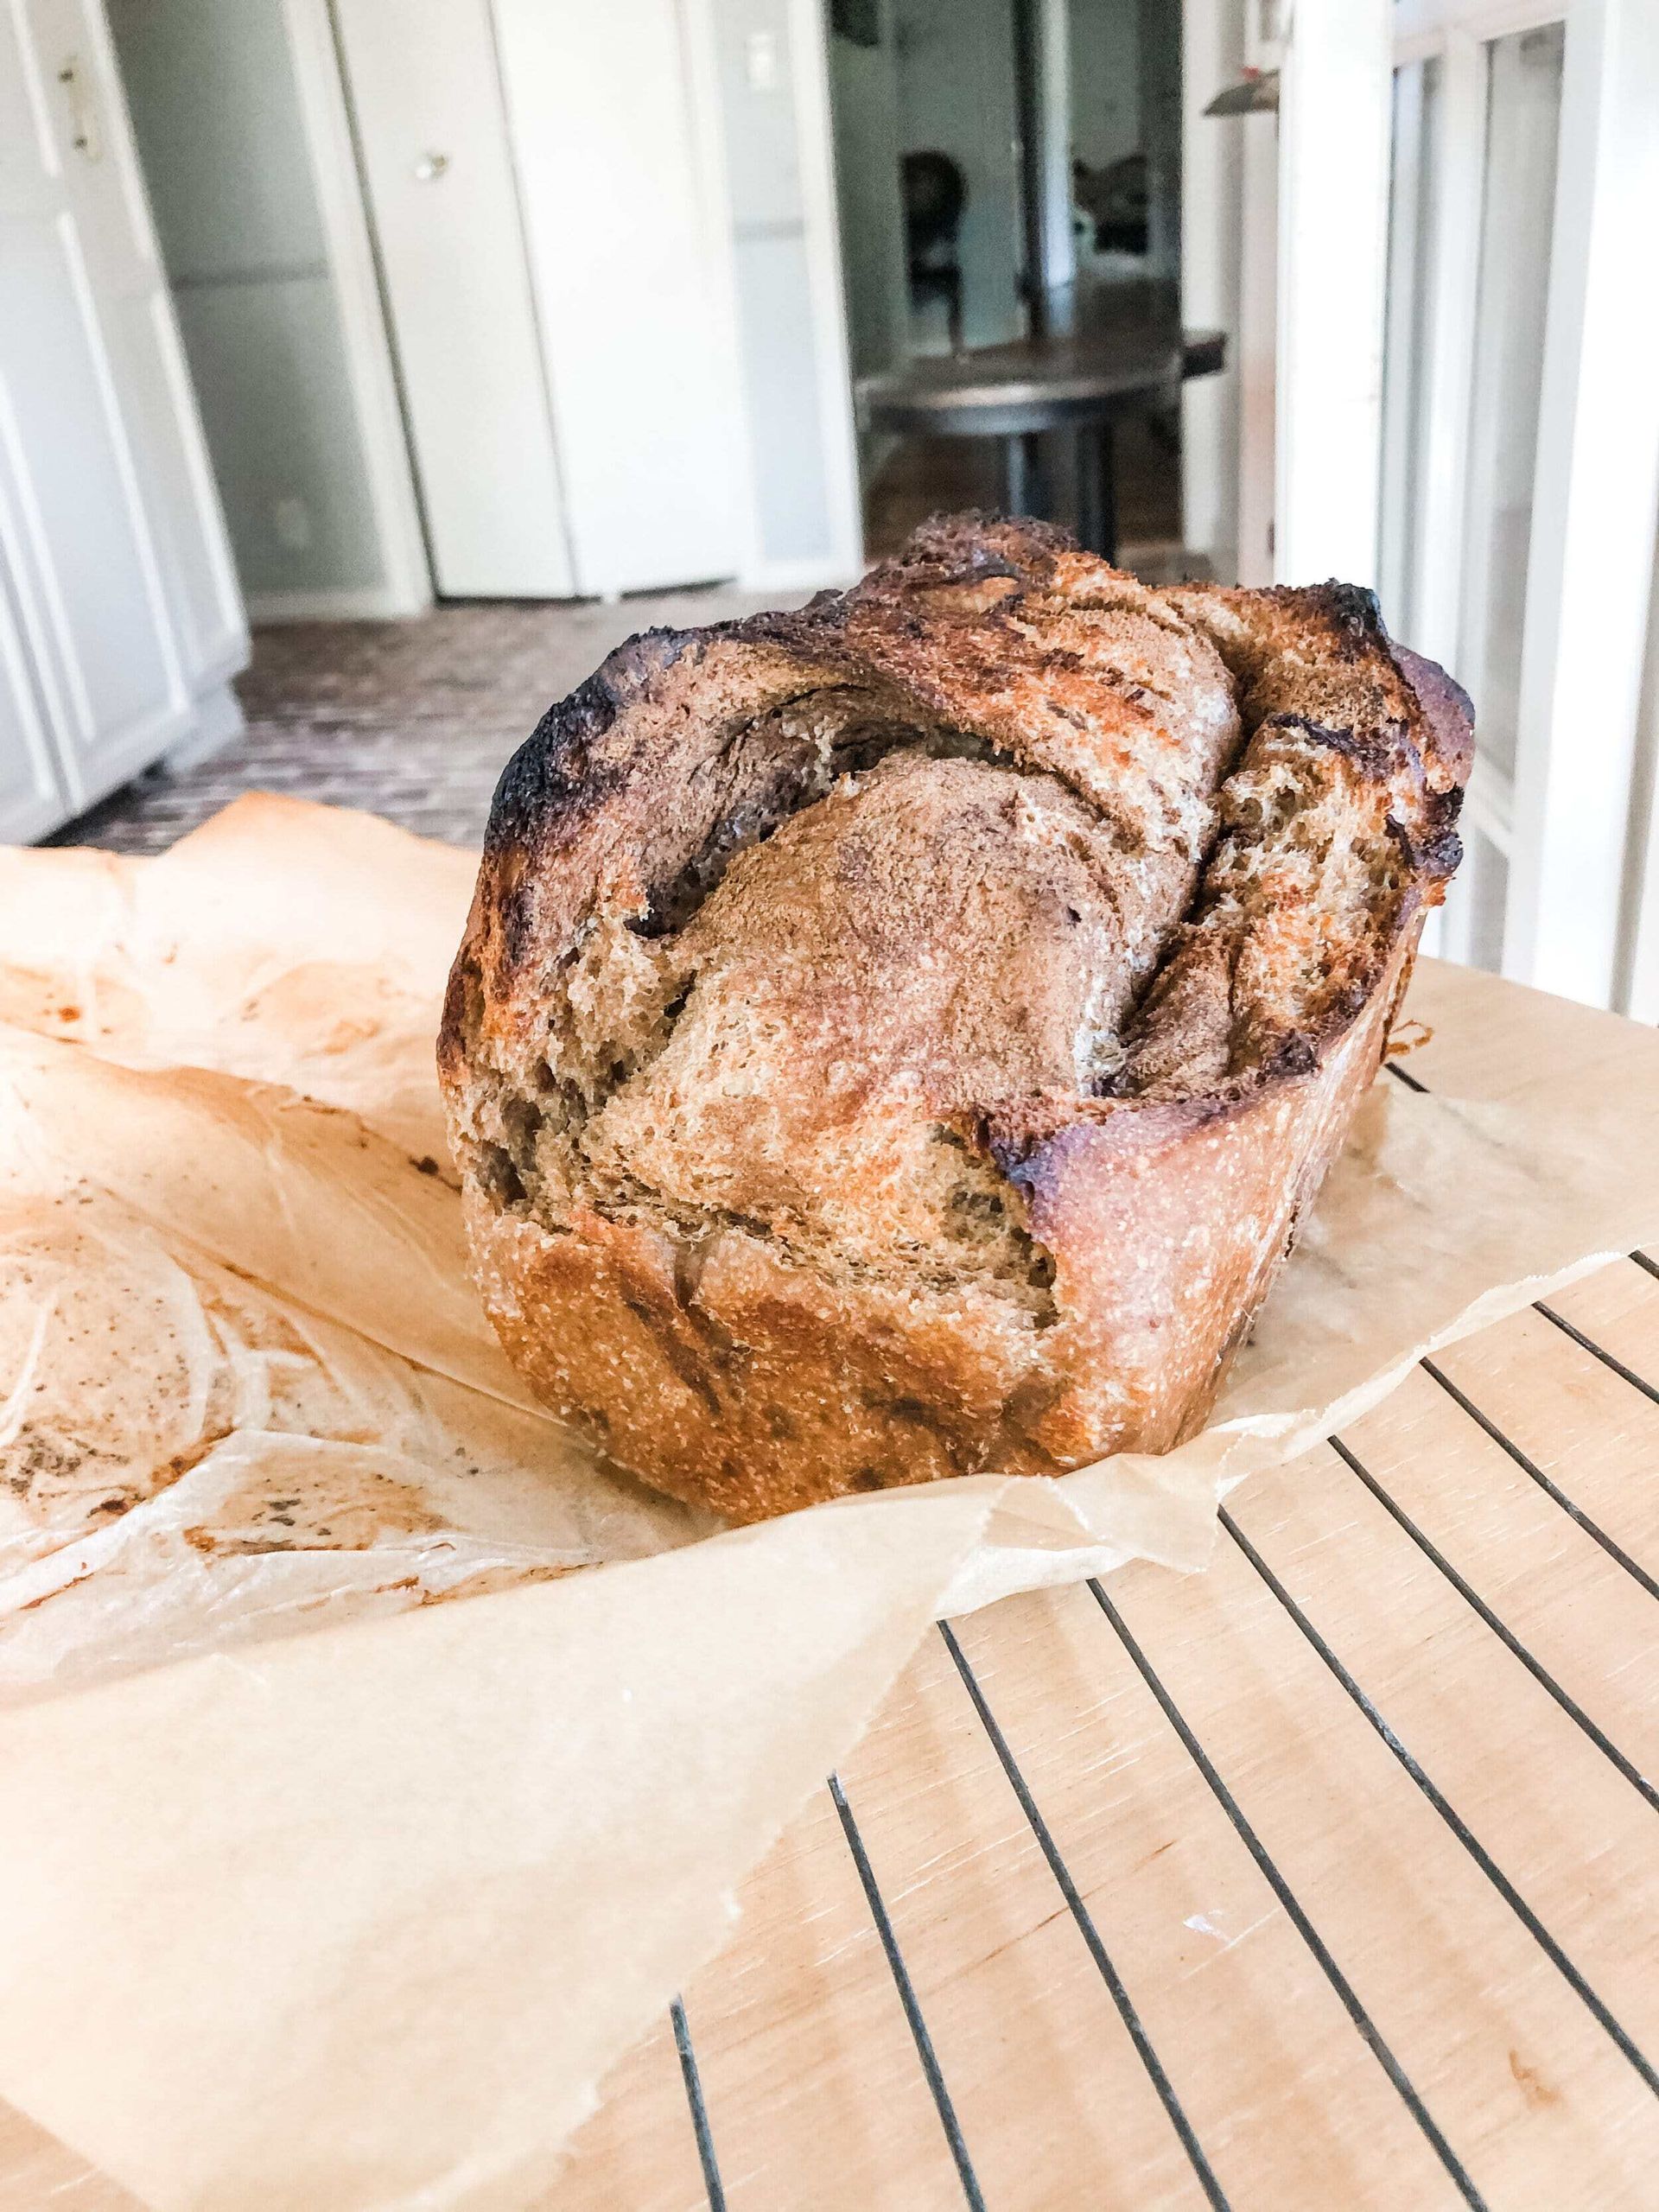
I had been wanting for a while, to try my hand at making a pan loaf, because they work better for a traditionally looking sandwich. :) But most pan loaf formulas I found had more ingredients added to them besides just flour, water, salt, and leaven. I wanted to find one that wouldn’t have all that. I finally found a pan loaf that was a super high hydration, 95%, and not an enriched dough! I tried making it the first time and I was hooked!! It was so delicious and moist. It was definitely harder to work with than the other formula that I was used to working with, but since I was doing the proofing in the pan and no switching from proofing basket to bake, helped with not losing the shape of the dough.
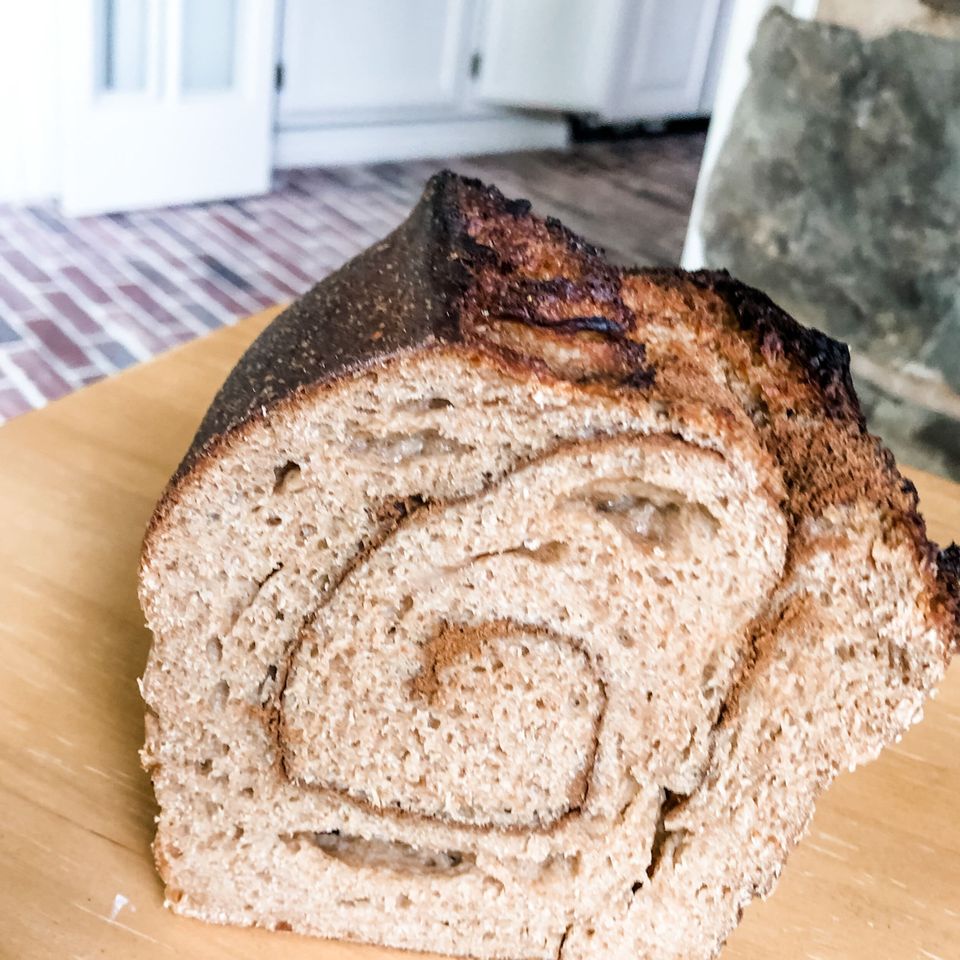
When I was eating the first loaf of this delicious bread, I kept thinking about a yeasted homemade bread that my mom used to make a lot. It was a sweet bread with a cinnamon sugar swirl. She used it to make us french toast. I felt confident enough in my ability of making bread that I finally branched out and tried writing my first formula from scratch. I immediately wanted to figure out a way to make a naturally leavened loaf that rivaled my mom’s famous loaf. So that set my path of creating this formula! I can’t say that I still won’t change it sometime, but I also love it just the way it is now as well! I am so excited to share this formula with you.
Below I will write the times and formula that I used. I encourage you though to write down a timing chart that works well for you and your schedule. Vanessa Kimball at The Sourdough School has a wonderful Loaf Schedule form in her book that I use to help keep track of what I’m doing and when. If you are into sourdough or want to learn more, I highly recommend her book! My last bit of detail is that I only use spelt flour around here, because I have a wheat sensitivity so all of my formulas use that. It will work completely fine with wheat flour though or a combination. But I have only tried it with spelt, and sprouted, whole grain spelt for that matter. :) Really going for the most nutritious loaf possible over here. :) OK so here’s what I did!
8:30 am ~ Made Leaven: 50g water + 50g flour + 50g starter
1:00 pm ~ Mix and Autolyze: 555g flour + 450g water - Mix by hand until all flour is wet, cover and set aside
3:30 pm ~ Continue autolyze and mix in leaven: 90g leaven + 30g water hand mixed into the dough. Mix until incorporated well and the dough comes together and can hold its shape.
3:40 pm ~ Add in salt and honey: 14g salt - I mixed the salt in first, made sure it was incorporated, and then stretched out the dough to laminate in the honey. I used 87g of honey, laminating it in.
Let rest for 30 mins.
Next starts a series of stretch and folds over the next 3 hours. I do 5 stretch and folds, at 30 min increments, and then one coil foil at the end of the 3 hours.
Let it rest for 30 mins and measure out 10g of ground cinnamon to laminate in when shaping.
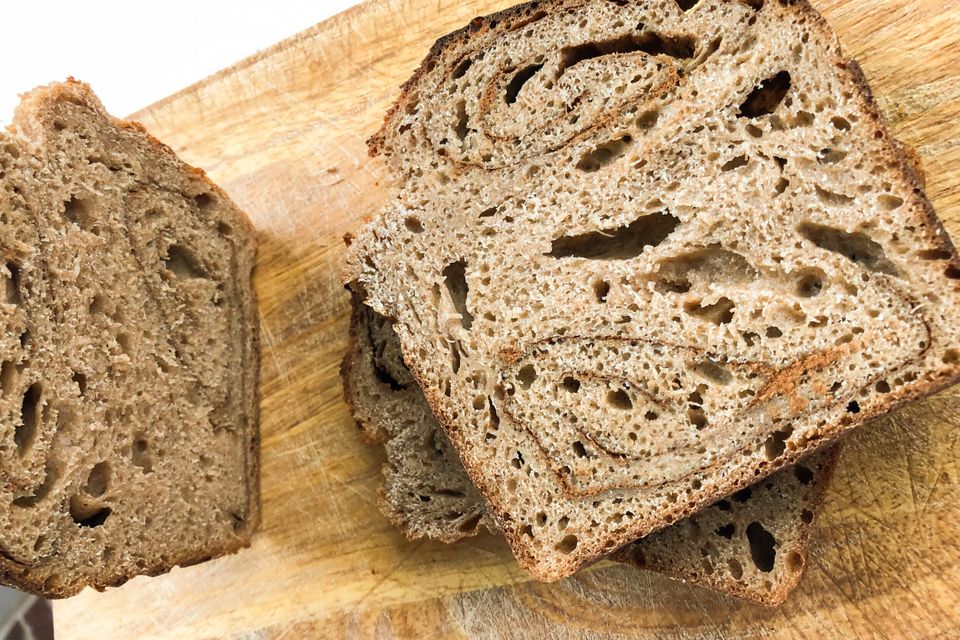
8:10 pm ~ Shape your Dough: Stretch out the dough to as wide as your pan is long. (If your pan is 10x5, only make it 10 inches wide so that when you roll it up it will fit in your pan and keep the swirl shape).
Spread the cinnamon onto the surface of your dough. Gently roll it up into a log.
I use a cast iron loaf pan, lined with parchment paper.
Place your rolled up dough in the pan. Cover it with plastic wrap and place in the fridge overnight. (Note: Be careful the plastic isn’t actually touching the top of your dough, you want to give it room to rise).
8:00 am the next morning ~ Preheat oven to 450F, with steam. Bake it for 45 mins. and then check internal temp. Between 190-210* is what you are looking for to be considered cooked through.
Enjoy!
Let me know what you think if you try it out! I love using it to make french toast, just like I used to do with my mom’s bread. But it is really yummy plain too, well with grass fed butter of course! ;)