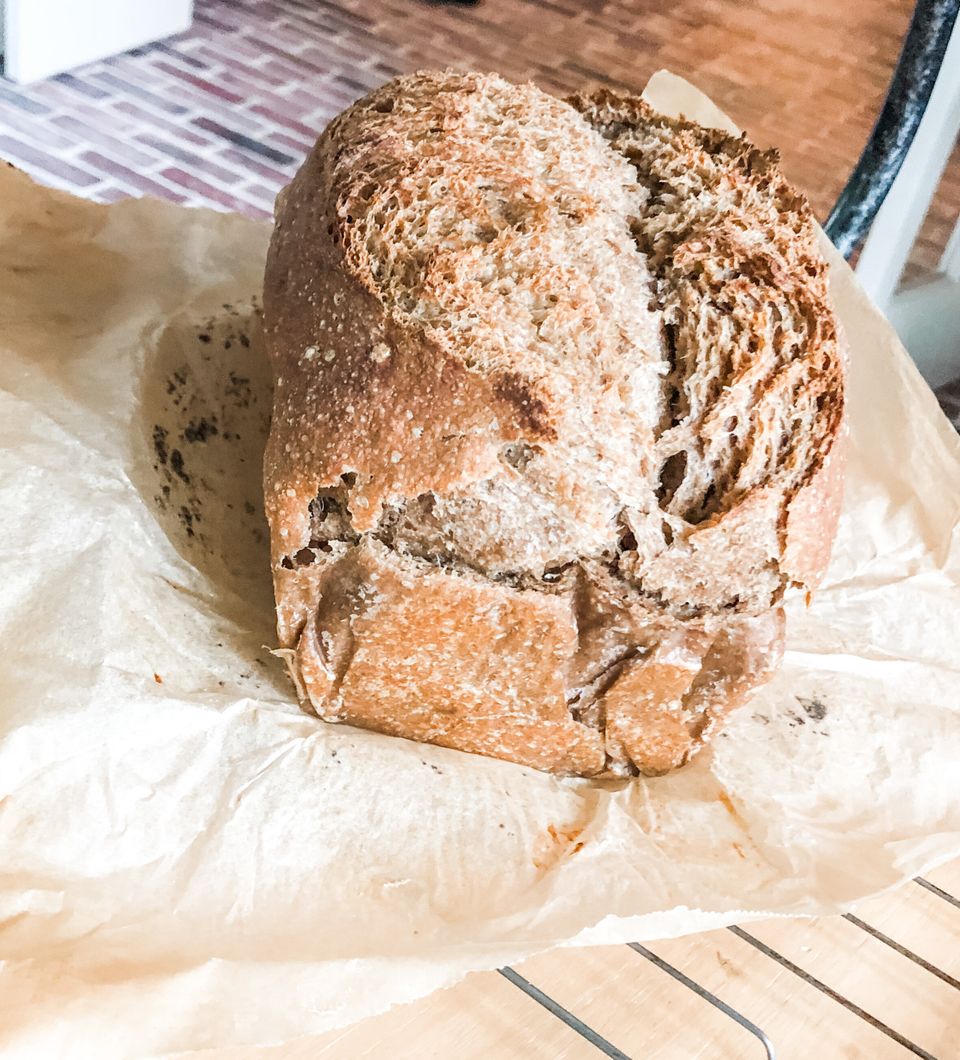
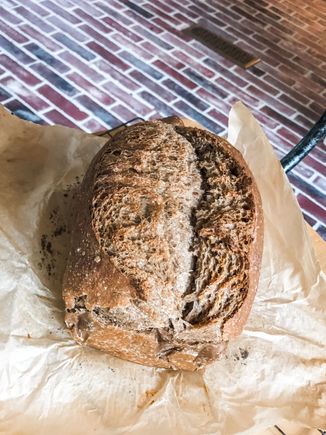
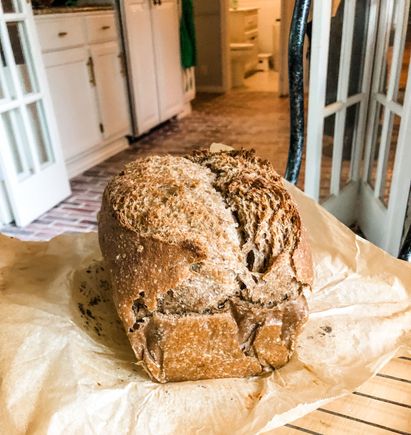
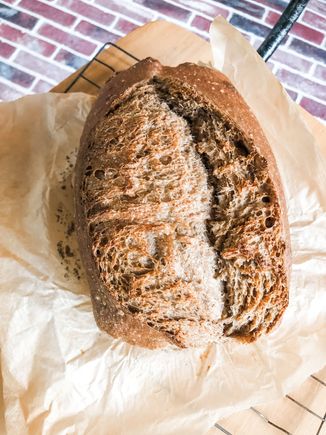
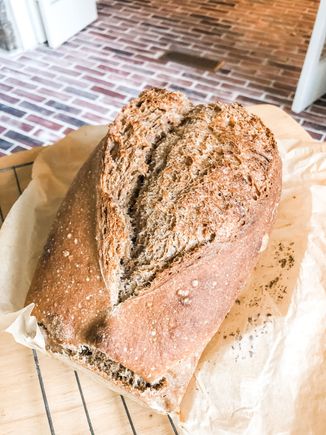
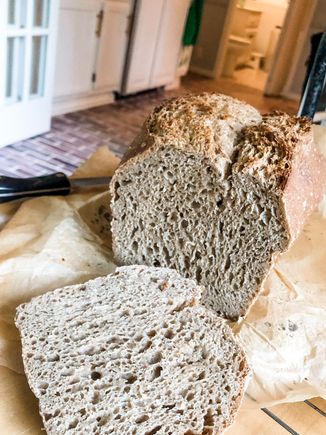
In my previous post I referenced that I used a regular pan loaf as my base recipe and inspiration for creating the honey cinnamon loaf. It was this loaf that I was talking about! I have really fallen more in love with sourdough (if that was even possible) once I started making this loaf. It’s so moist, soft on the inside and crisp on the outside. It really is perfect for a delicious grilled cheese sandwich, which just so happens to be my favorite kind of sandwich. :) I have several people asking for guidance on sourdough bread lately and I absolutely love it! So I thought I would get my method down somewhere that will be an easy reference for those of you who are venturing out into sourdough for the first time, and also for those of you who have been on your journey for a while.
**NOTE: I have only used this formula and timings with a sprouted spelt flour. So, if you choose to make it with a different type of flour (which is totally fine to try), you may notice different results. Change timings accordingly to the flour you use.
10:00 pm the night before you want to make bread ~ Refresh starter
9:00 am ~ Make Leaven: 50g water + 50g flour + 50g starter
1:00 pm ~ Mix and Autolyze: 555g flour + 475g water - Mix by hand until all flour is wet, cover and set aside
2:00 pm ~ Continue autolyze and mix in leaven: 90g leaven + 30g water hand mixed into the dough. Mix until incorporated well and I press the leaven gently down into the dough and then a turn the dough out onto the counter. I press and fold the dough over itself until the two parts are coming together well. You want the dough to come together and can hold its shape.
2:30 pm ~ Add in salt + water: 14g salt + 25g water - I put the salt and water into the bowl. Again I press the salt down into the dough some and then I gently fold the sides of the dough over into the middle until the salt is covered. Then I pick up the dough and move it to the counter in order to incorporate it well. I use the same method as I did when I added in the leaven.
Let rest for 30 mins.
3:00 pm ~ Next starts a series of stretch and folds over the next 3 hours. I do 6 stretch and folds, at 30 min increments, covering the bowl between each S&F session. How I do the stretch and folds is as follows:
Take the dough and place it on the counter.
Gently stretch it out a bit. I then look at it as if it is a clock. Placing one hand in the center and using the other hand I stretch out the dough that is at 12 o’clock and fold it to the center.
I then do the same at 3 o’clock, 6 o’clock, and 9 o’clock. I usually go around the clock two times.
The second time around the clock the dough doesn’t stretch out nearly as far as the first, which is to be expected.
Place the dough back in the bowl to rest, covered.
After the last stretch and fold, let it rest for 30 mins.
6:00 pm ~ Pre-shape your Dough: Pour the dough onto the counter one last time. Using the friction of the dough moving along the counter, gently shape your dough into a circle. It’s not super important what it looks like here, you are just wanted to start to create surface tension on the top of your dough. Let it rest 20 mins, uncovered, on the counter when done. It will relax and loss some of its shape during the rest period and that is ok.
While you are waiting during the rest period, line your pan with parchment paper. I use a cast iron loaf pan.
6:20 pm ~ Shape your Dough: Turn the dough over so that the bottom of the dough is up on the counter. Gently pull the dough into a small rectangular shape, with the long side of the rectangle on the bottom, closest to you. Take the top, long side and fold it down into the middle. Do the same with the bottom long side. Now take one of the short sides and begin to roll the dough as if you were rolling up the dough into a log. Fold the ends down under itself again and then gently pick up the log and place it in the parchment lined pan.
I cover it with plastic and then let it rest on the counter for 15 more mins or so. (I actually like to use a shower cap :)) Note: Be careful the plastic isn’t actually touching the top of your dough, you want to give it room to rise.
7:00ish pm ~ Place your bread into the fridge to proof overnight.
8:00 am the next morning ~ Preheat oven to 450F, with steam. Score the top of your bread using a bread lame or very sharp knife. I like to do it right down the middle at a 45* angle. Bake it for 45 mins. and then check internal temp. Between 205-210* is what I look for in this particular loaf to be considered cooked through.
Enjoy!
Let me know how it turns out if you try it! I’m also happy to answer any questions you may have, just drop them below. :) Happy baking!